Process overview#
To customize your Ansys Web App, follow these steps in the order they are presented.
Unpack the solution#
The solution file, which has an .awa extension, is in a compressed format and contains all the necessary files for the solution. To customize the solution, you first need to unpack it by following these steps:
Rename the file to
.zip.In the File Explorer, right-click the solution file and select Rename.
Change the file extension from
.awato.zip.
Unzip the solution file.
In the File Explorer, right-click the file, select Extract All (Windows) or Extract to (Linux), and follow the instructions.
Alternatively, you can use any other zip utility like 7-Zip or WinRAR on Windows, or gunzip on Linux to extract the files.
The solution files are extracted to a folder with the same name as the solution file and which contains files similar to the following:
│
├── assets
│   ├── saf_inner_source_packages.tar.gz
│   └── saf_inner_source_packages_ui.tar.gz
├── doc
│   ├── source
│   ├── styles
│   ├── Makefile
│   └── make.bat
├── examples
│   └── README.md
├── src
│   └── ansys
├── telemetry
│   ├── grafana
│   └── tracelens
├── tests
│   ├── common_test_files
│   ├── integration
│   ├── unit
│   └── conftest.py
├── .gitignore
├── .pre-commit-config.yaml
├── CHANGELOG.md
├── CODEOWNERS
├── CODE_OF_CONDUCT.md
├── CONTRIBUTING.md
├── README.rst
├── poetry.lock
├── poetry.toml
├── pyproject.toml
├── setup_environment.py
└── tox.ini
Customize the solution#
Follow these instructions to modify your solution.
Based on the complexity of the code modifications required, the instructions have been grouped into “no-code,” “low-code,” and “full-code” customizations:
No-code customizations |
Don’t require modifications to the source code, only to asset files (for example, image or text files). |
|---|---|
Low-code customizations |
Require some code modifications, but usually involve a utility function created for this use case. |
Full-code customizations |
Require you to write your own Python code. |
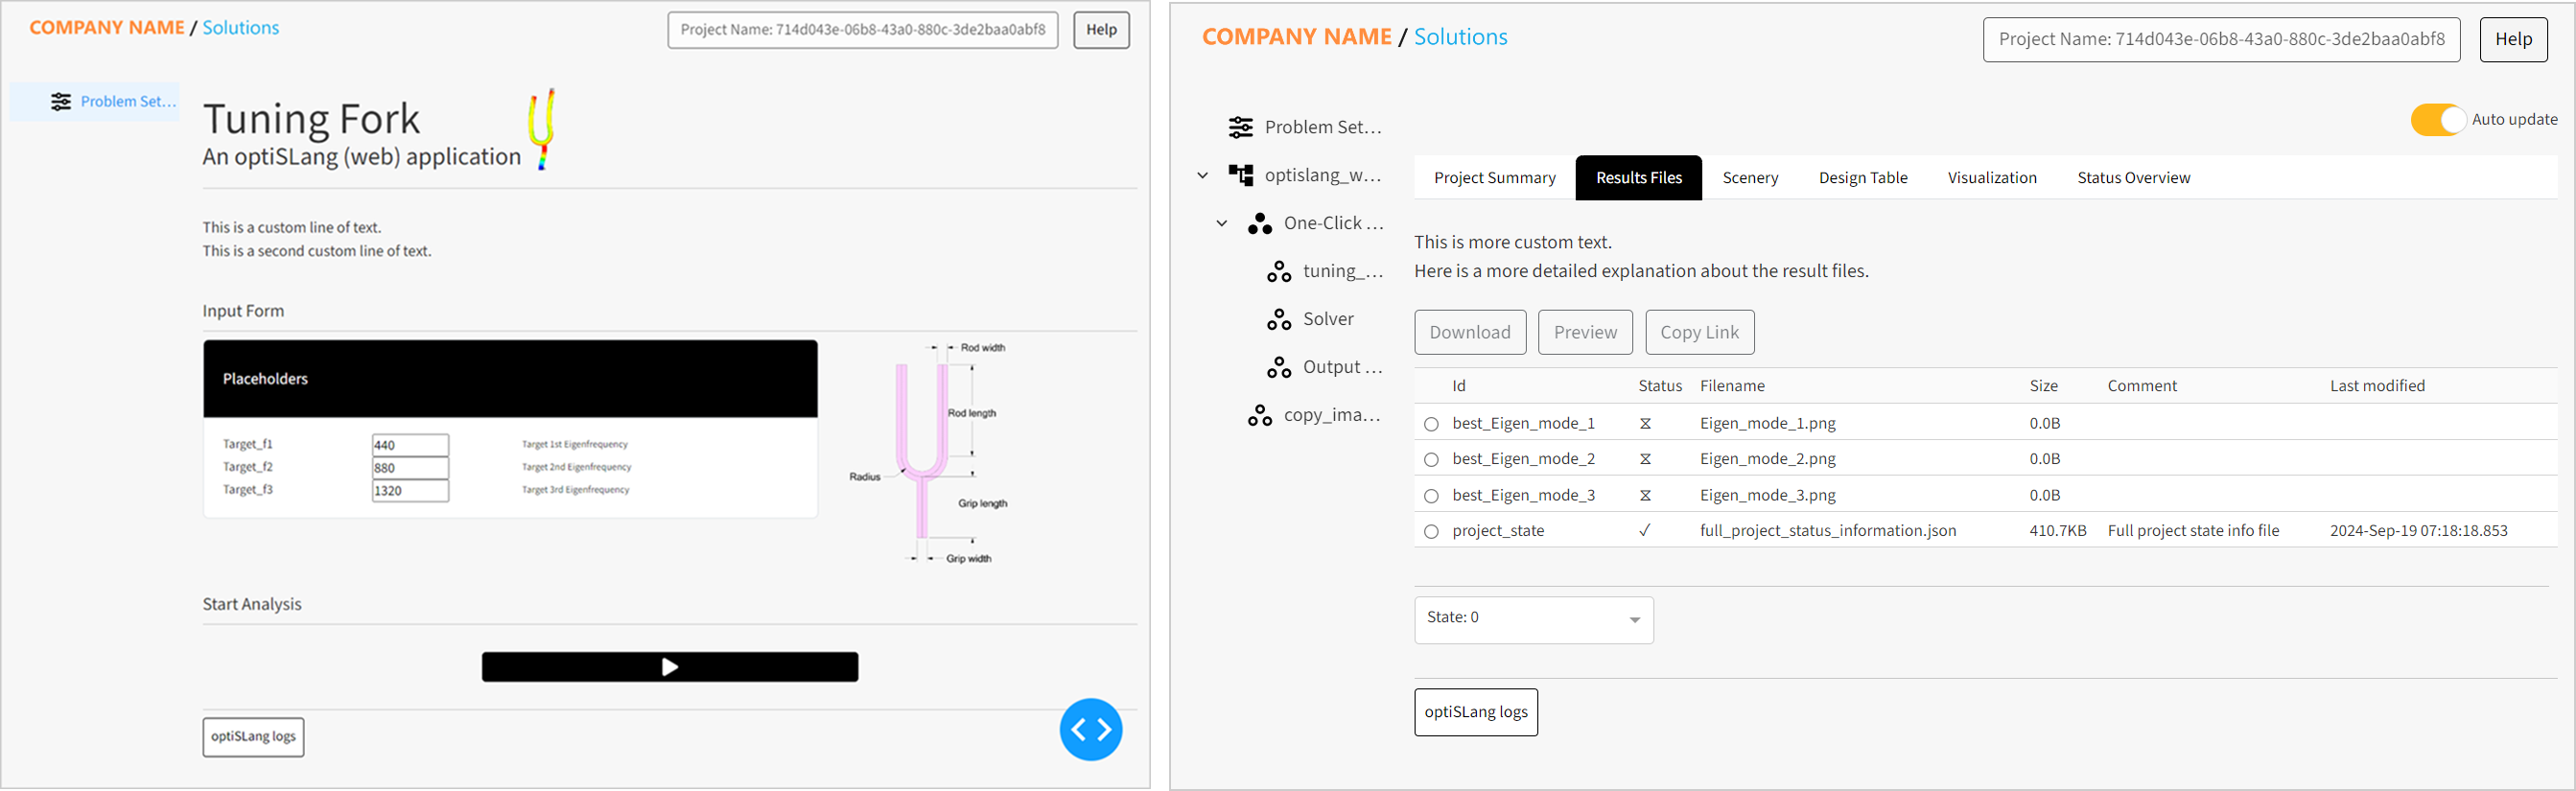
Here is an example of what you can do with the no-code and low-code customizations that are described in this user guide. Consider the default look of the application, with no modifications:
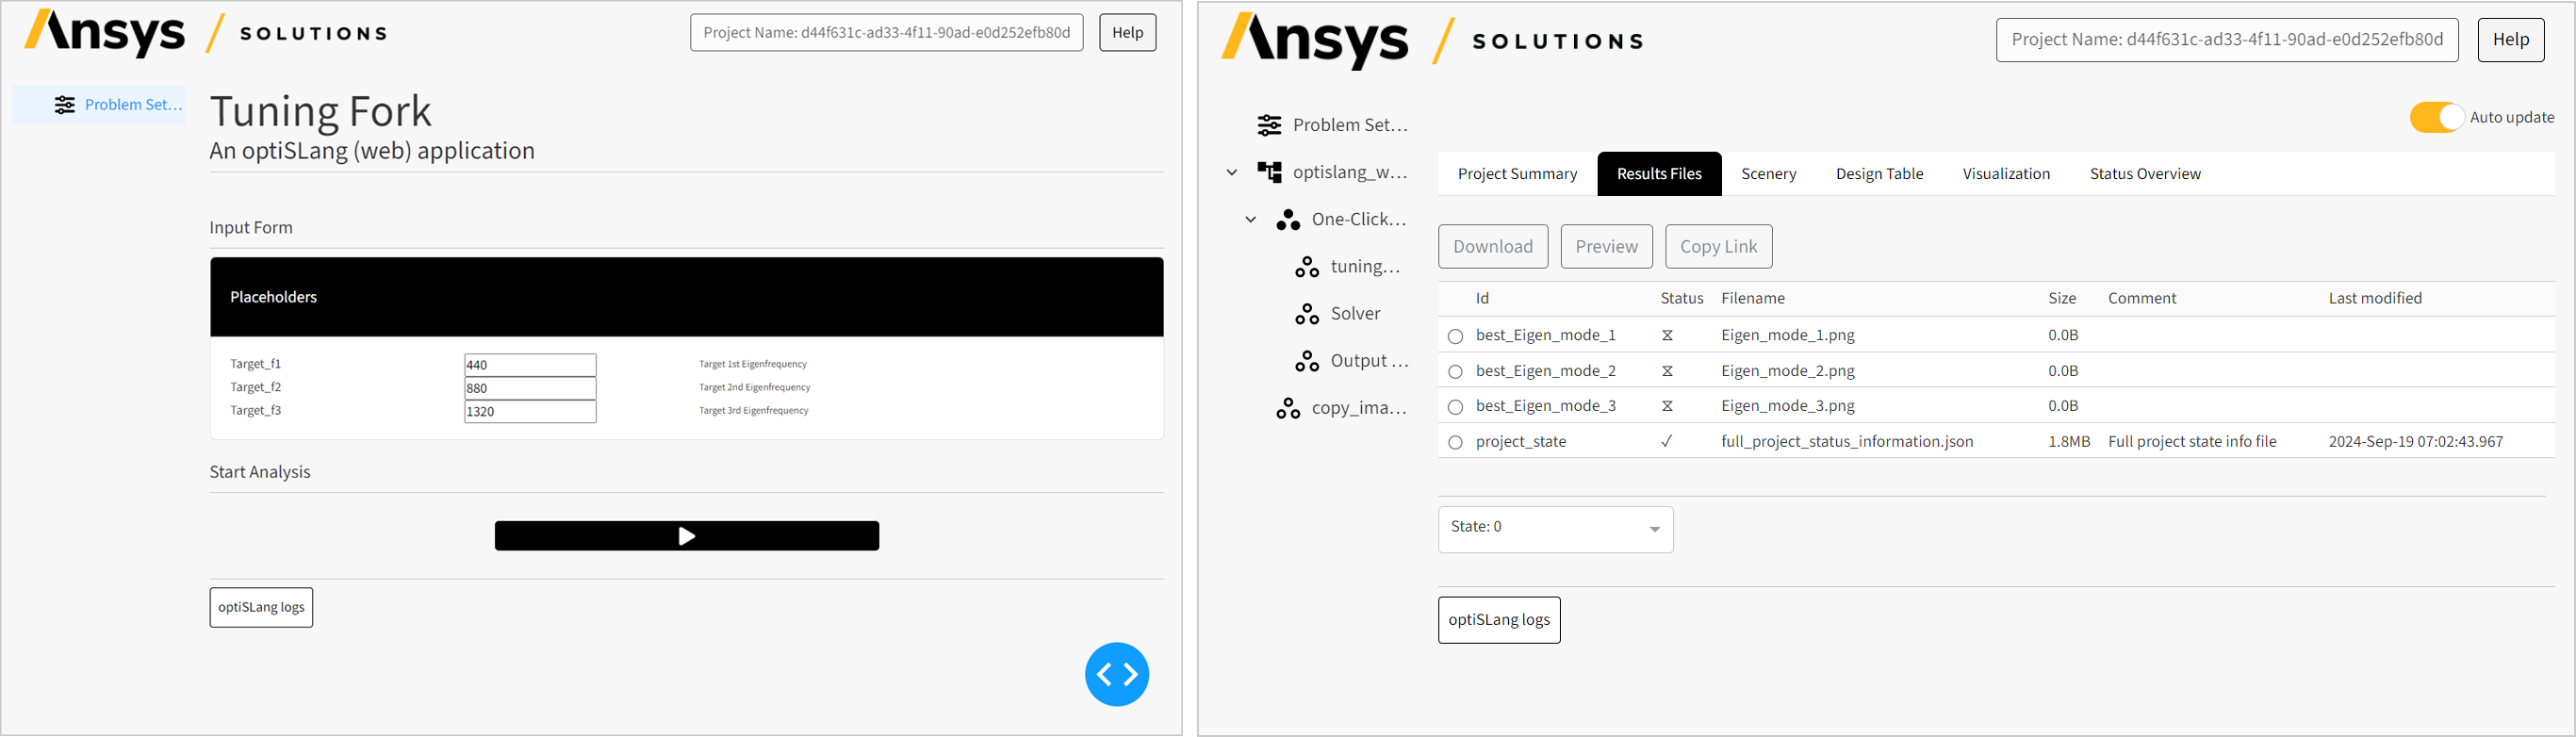
Compare that with the look of the app if you follow the no-code/low-code instructions across all sections of this customization guide, using the assets from the examples:
Version the changes#
The solution folder contains a pyproject.toml file which details the solution metadata and
lists the dependencies required to build and execute the solution.
To keep track of the customization changes made to the solution, it is recommended that you version
the changes by incrementing the version property in the pyproject.toml file. The version
property is located in the [tool.poetry] section of the file.
[build-system]
requires = ["poetry-core>=1.0.0,<1.3.0", "setuptools>=65.0"]
build-backend = "poetry.core.masonry.api"

# The following lines were added to enforce the poetry version needed for the project.
# It will be read by the setup_environment.py script to install this version.
[build-system-requirements]
build-system-version = "1.7.0"

[tool.saf-osl-app-builder]
version = "0.4.0"

[tool.poetry]
name = "ansys-solutions-tuning-fork"
version = "0.1.dev0"
description = "An optiSLang (web) application"
license = "Proprietary"
authors = ["ANSYS, Inc. <solution-applications.maintainers@ansys.com>"]
maintainers = ["ANSYS, Inc. <solution-applications.maintainers@ansys.com>"]
readme = "README.rst"
keywords = ["Ansys Solutions"]
If your solution is being deployed in a containerized environment, updating the version
property allows different versions of the same solution to be deployed. For example, if
.awa files with the same solution name but different versions are uploaded, the
Ansys App Portal displays them as separate apps.
Note
You shouldn’t modify the solution dependencies, as it may break compatibility with the environment where the solution is executed.
Test the changes#
To test and debug your customization changes, you need to set up the development environment. To do this, follow these instructions:
Move to the solution directory:
cd <solution-name>
Install
tomlandpackagingon your current system Python interpreter:pip install toml packaging
Install the Python ecosystem:
python setup_environment.py -d desktop run ui
python3 setup_environment.py -d desktop run ui
A virtual environment named
.venvis now available in the solution.Activate the virtual environment:
.venv\Scripts\activate.bat
.venv\Scripts\Activate.ps1
source .venv/bin/activate
Tip
You may be interested in using the additional
-d stylevalue to install the code styling dependencies when you install the Python ecosystem:python setup_environment.py -d desktop run ui style
python3 setup_environment.py -d desktop run ui style
This allows you to run a number of code style checkers with the pre-commit tool to ensure that the code is formatted correctly:
pre-commit run --all-files --show-diff-on-failure
Run the solution.
After activating the environment, you can run the solution by executing the following command from the root of the solution directory:
run_solutionAttention
If your Ansys software suite version is earlier than 25R2,
run_solutionisn’t available. Instead, use this command:python "<ansys-installation-folder>\<ansys-version>\optiSLang\lib\python3.10\Lib\saf_executables\solution-app-starter.exe" .python "<ansys-installation-folder>\<ansys-version>\optiSLang\lib\python3.10\Lib\saf_executables\solution-app-starter.exe" .
python3 "<ansys-installation-folder>/<ansys-version>/optiSLang/lib/python3.10/lib/python3.10/saf_executables/solution-app-starter" .
Be sure to replace
<ansys-installation-folder>and<ansys-version>with the correct paths.
Repackage the solution#
Once you’re done with the customization changes, you need to repackage the solution into an .awa file. The updated solution can be executed as usual, allowing you to check the changes are as expected.
To pack the solution back into an .awa file, use the following steps in the File Explorer:
Select all the files and folders in the solution folder.
Right-click the selected files and select (Windows) or (Linux).
Rename the new
.zipfile to.awa.
Alternatively, you can use any other zip utility like 7-Zip or WinRAR on Windows, or gzip on Linux to compress the files.
Attention
While having extra content doesn’t break the .awa file, the .poetry, .venv, .ruff_cache and/or .pytest_cache folders (depending on what the development environment generated) are only necessary for development purposes and may considerably bloat the size of the .awa file. Ansys strongly recommends that you exclude them from repackaging (for example, by deleting them before compression). The poetry.toml file is similarly unnecessary.
Execute the customized solution#
To execute the new .awa file:
- Windows
In the File Explorer, double-click the
.awafile. This opens the solution in a new window.- Linux
Run the following command and then open the URL printed in the console in a web browser:
<ansys-installation-folder>/<ansys-version>/optiSLang/tools/saf/run_solution <solution-name>.awa